GitHub으로 나만의 블로그 만들기 5 - 구글에서 Github blog 보이도록 하기
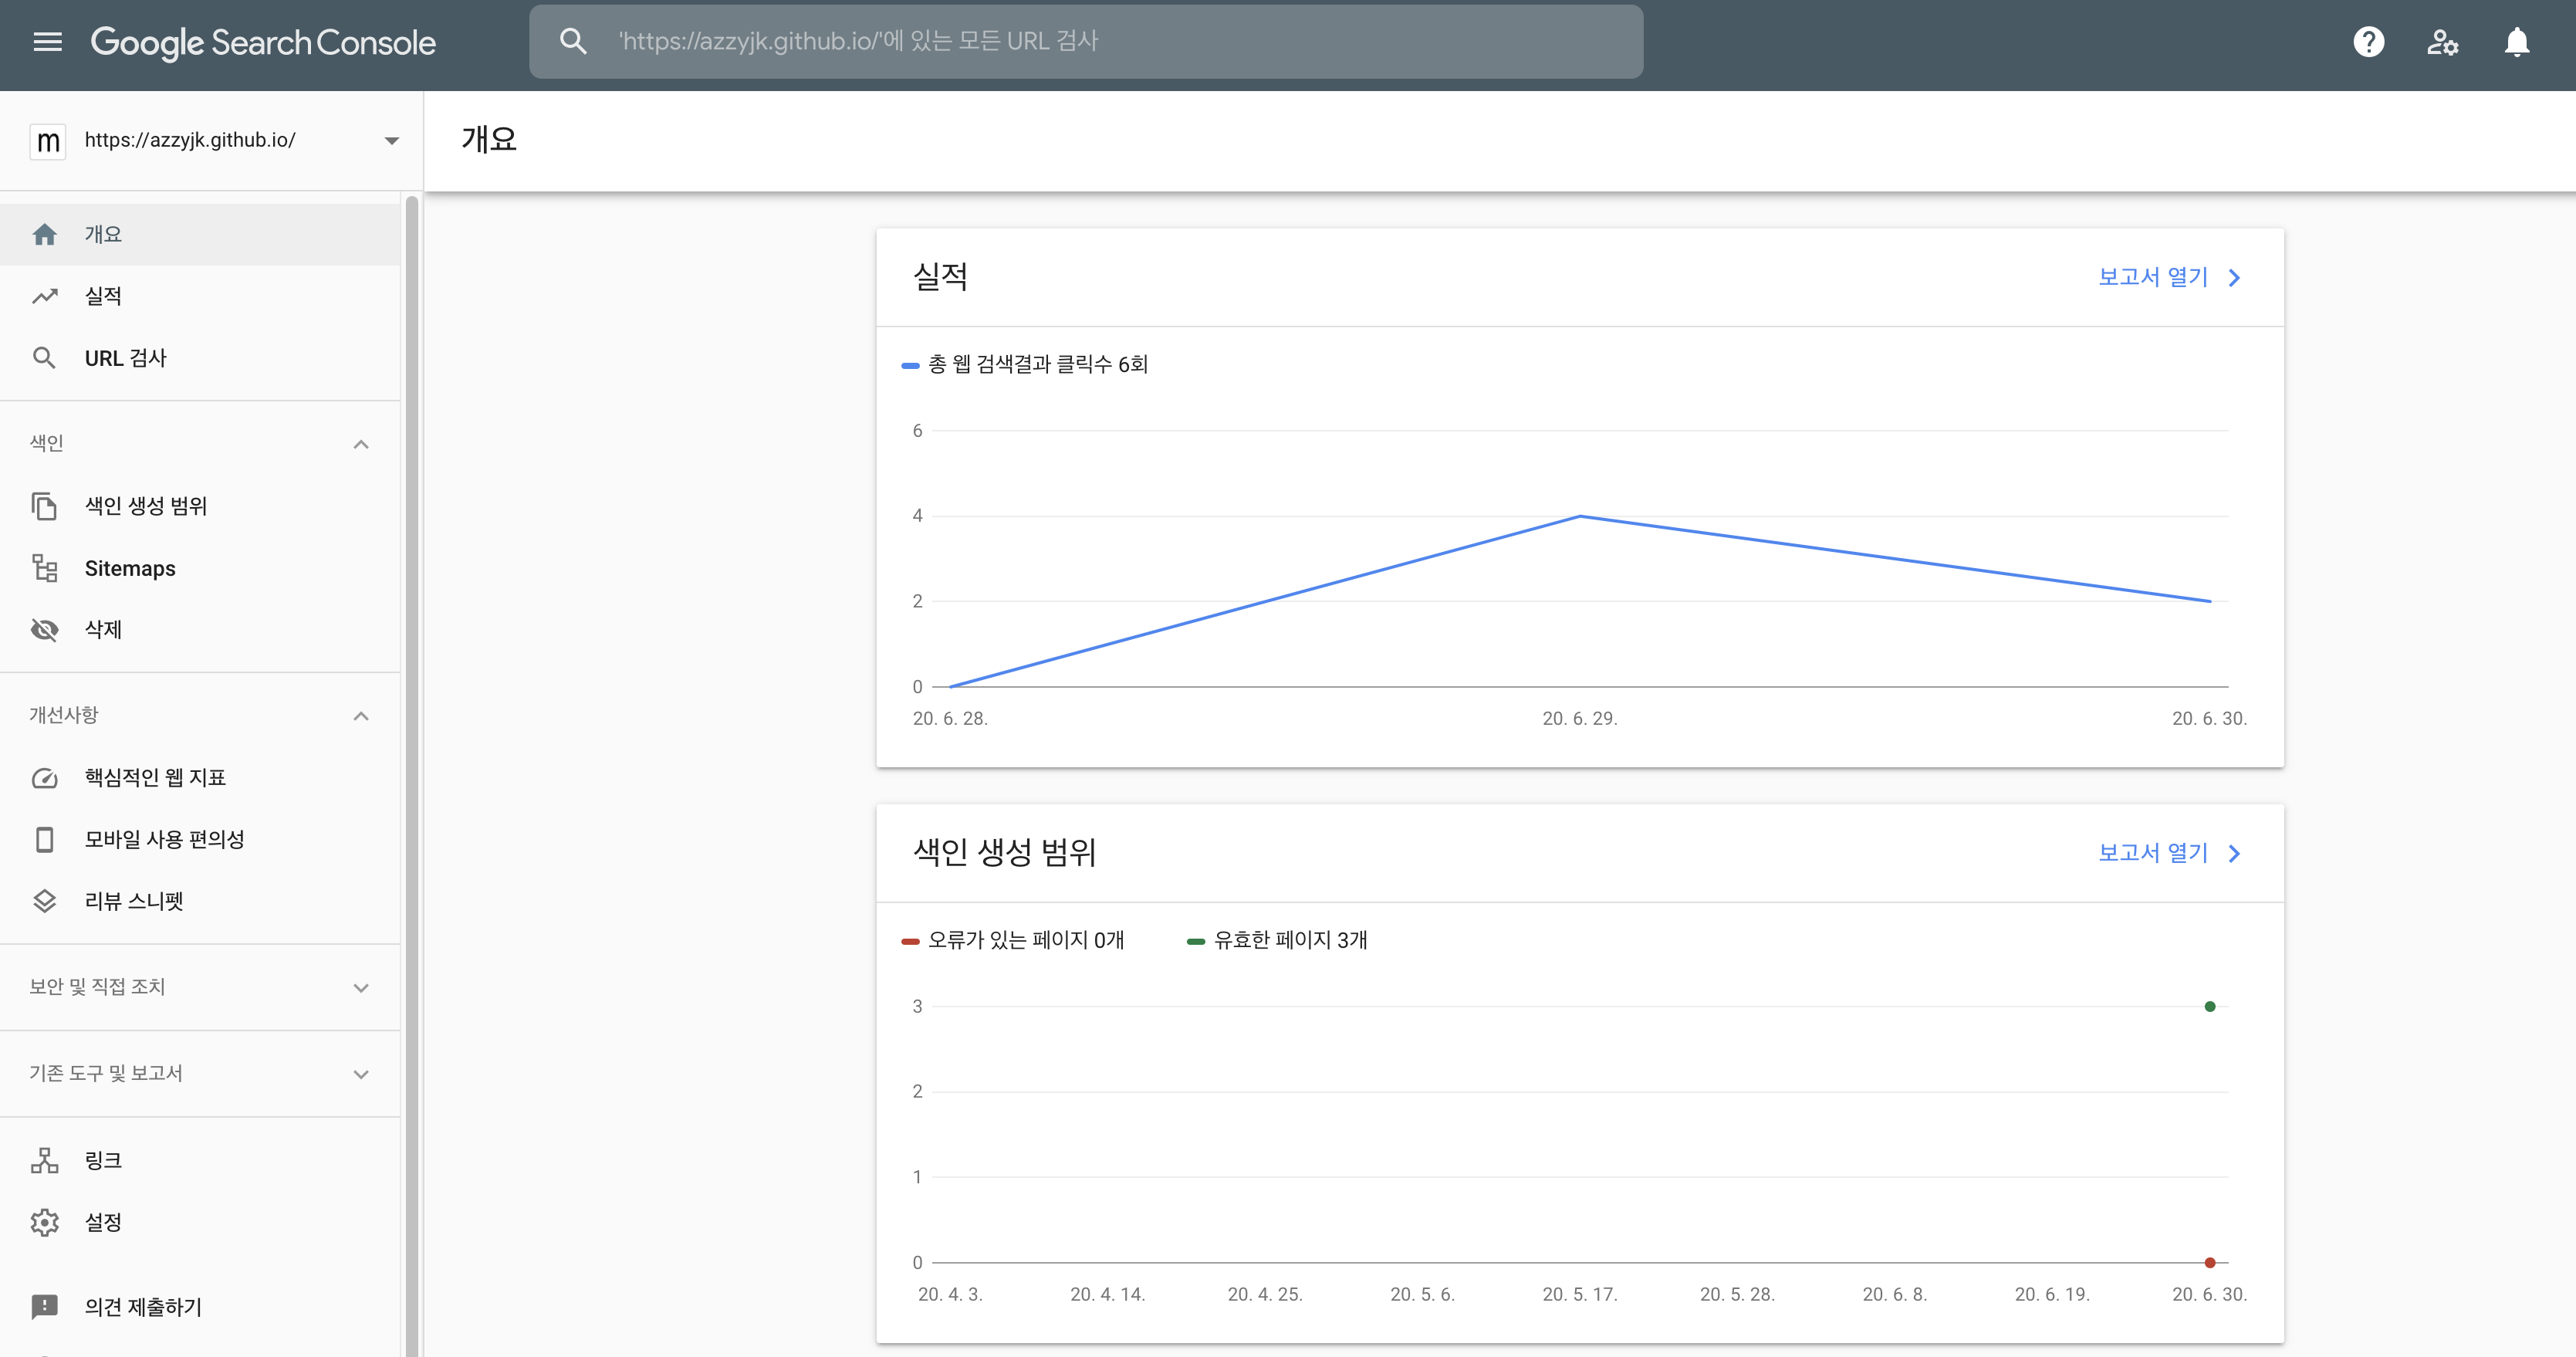
Summary
내 Github blog가 Google에서 검색되도록 만들기
지난 글에서는 Blog의 Syntax Highlighter를 자신이 원하는걸로 변경했었다. 이번엔 내가 올린 글을 다른 사람들이 볼 수 있게 Google에서 검색되도록 해보자.
sitemap
우선 페이지를 구글에 등록하기 전에 sitemap.xml 이 필요한데 이를 만드는 법 2가지를 알아보자.
직접 파일 만들기
블로그 폴더의 root경로에 sitemap.xml파일을 만든다.
cd azzyjk.github.io
touch ./sitemap.xml
이후 sitemap.xml에 아래 코드를 붙여넣는다.
---
---
<?xml version="1.0" encoding="UTF-8"?>
<urlset xmlns:xsi="http://www.w3.org/2001/XMLSchema-instance" xsi:schemaLocation="http://www.sitemaps.org/schemas/sitemap/0.9 http://www.sitemaps.org/schemas/sitemap/0.9/sitemap.xsd" xmlns="http://www.sitemaps.org/schemas/sitemap/0.9">
  {% for post in site.posts %}
    <url>
      <loc>{{ site.url }}{{ post.url }}</loc>
      {% if post.lastmod == null %}
        <lastmod>{{ post.date | date_to_xmlschema }}</lastmod>
      {% else %}
        <lastmod>{{ post.lastmod | date_to_xmlschema }}</lastmod>
      {% endif %}

      {% if post.sitemap.changefreq == null %}
        <changefreq>weekly</changefreq>
      {% else %}
        <changefreq>{{ post.sitemap.changefreq }}</changefreq>
      {% endif %}

      {% if post.sitemap.priority == null %}
          <priority>0.5</priority>
      {% else %}
        <priority>{{ post.sitemap.priority }}</priority>
      {% endif %}

    </url>
  {% endfor %}
</urlset>
plugin 이용하기
Github Pages 에서 jekyll-sitemap 플러그인을 지원하므로 jekyll-sitemap을 이용해보자.
jekyll-sitemap 설치
먼저 아래의 명령어를 이용해 jekyll-sitemap을 설치해준다.
gem install jekyll-sitemap
Gemfile에 jekyll-sitemap 추가
jekyll theme를 이용했으면 Gemfile이 존재할 것이다.
Gemfile에 아래와 같이 jekyll-sitemap을 추가해준다.
group :jekyll_plugins do
    gem 'jekyll-sitemap'
_config.yml에 jekyll-sitemap 추가
루트경로에 존재하는 _config.yml 파일에서 plugin에 jekyll-sitemap을 추가해준다.
plugins:
  - jekyll-sitemap
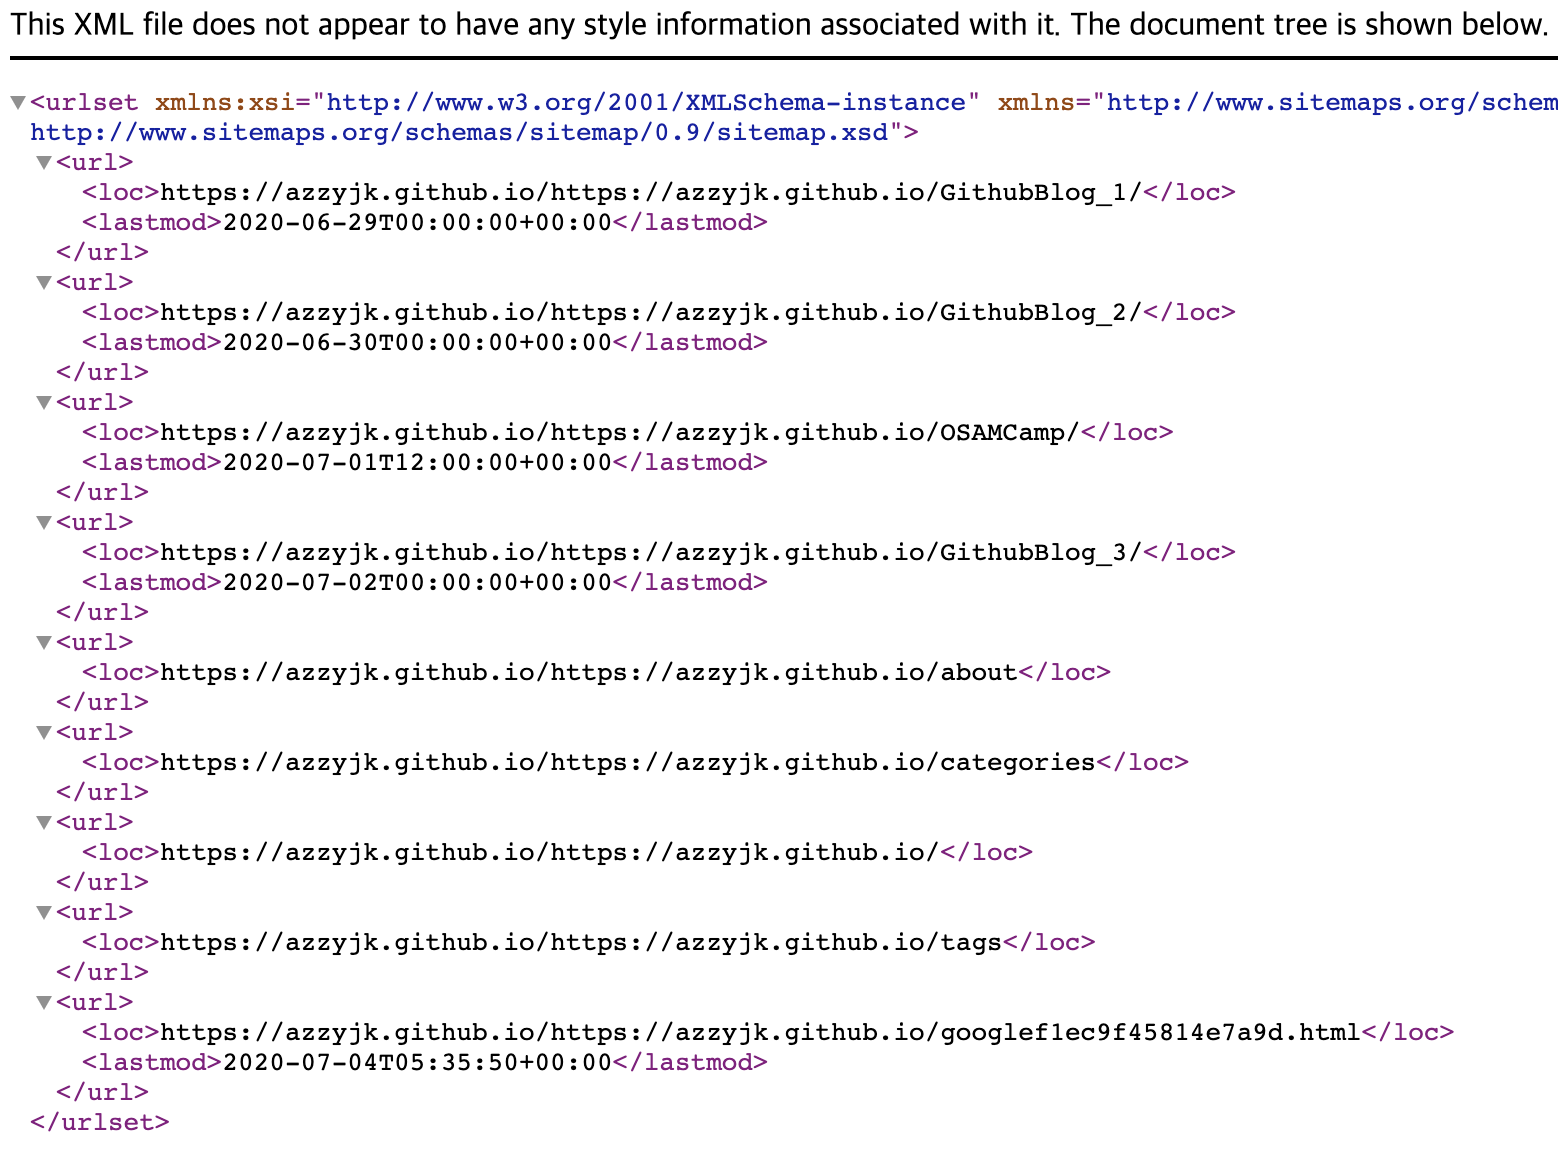
이후 Github에 해당 파일들을 commit하고 도메인 뒤에 sitemap.xml을 추가하여 접속하면 sitemap이 적용된 걸 볼 수있다.
ex)
https://azzyjk.github.io/sitemap.xml
robots.txt
구글 search console에 sitemap을 제출하기 전에 robots.txt 파일을 만들어서 웹 크롤러나 구글봇 같은 애들이 크롤링 할때의 규칙을 정해주어야 한다.
robots.txt 생성
블로그의 루트 경로에 robots.txt 파일을 만들어 준다.
cd azzyjk.github.io
touch robots.txt
이후 아래의 내용을 넣어준다.
User-agent: *
Allow: /

Sitemap: (해당 블로그의 sitemap주소)
ex) sitemap : http://azzyjk.github.io/sitemap.xml
이후 이 파일들도 commit을 통해 Github로 올려준다.
이제 sitemap.xml과 robots.txt를 만들었으니 구글에 제출해보자.
Search Console
먼저 Search Console에 접속해준다.
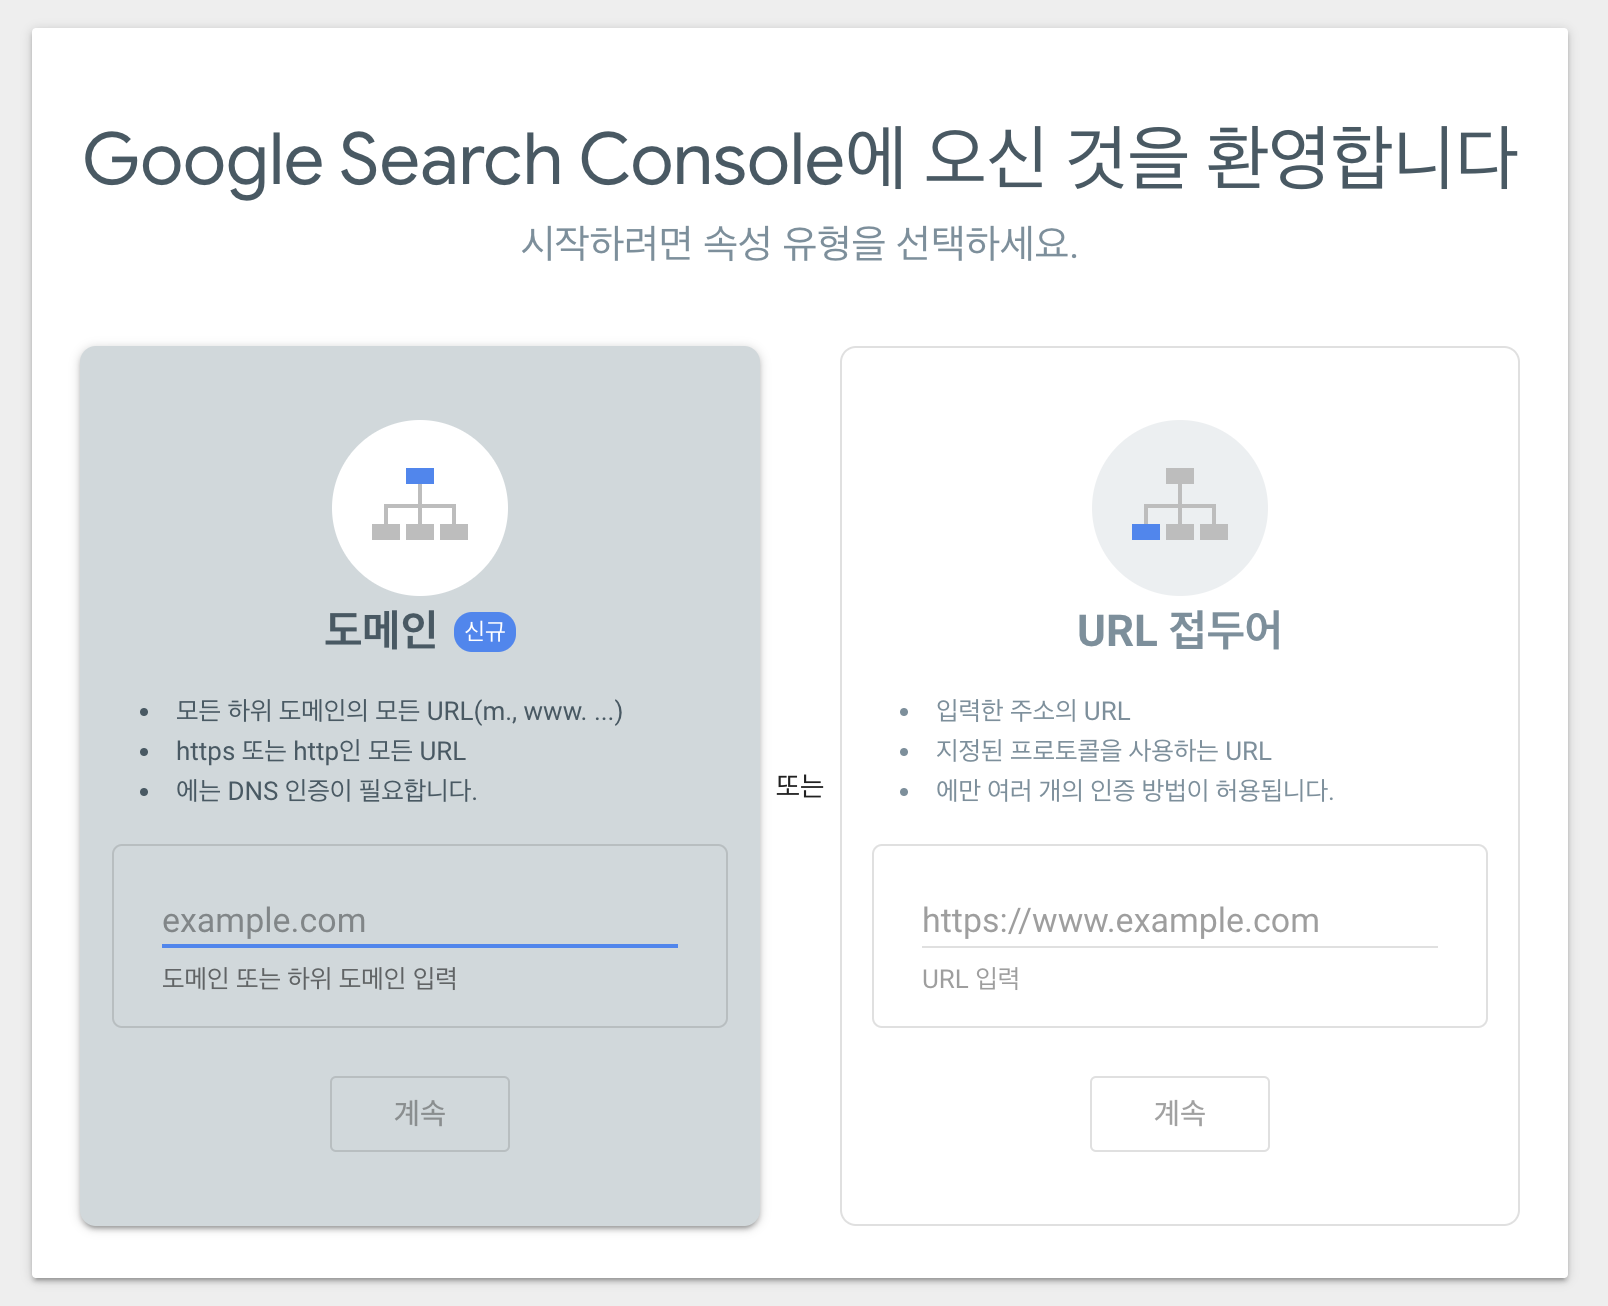
내 블로그 인증
접속하면 위와 같은 화면을 볼 수 있는데 Github에서 블로그를 만들었다면 우측 URL 접두어에 블로그 주소를 입력해주면 된다.
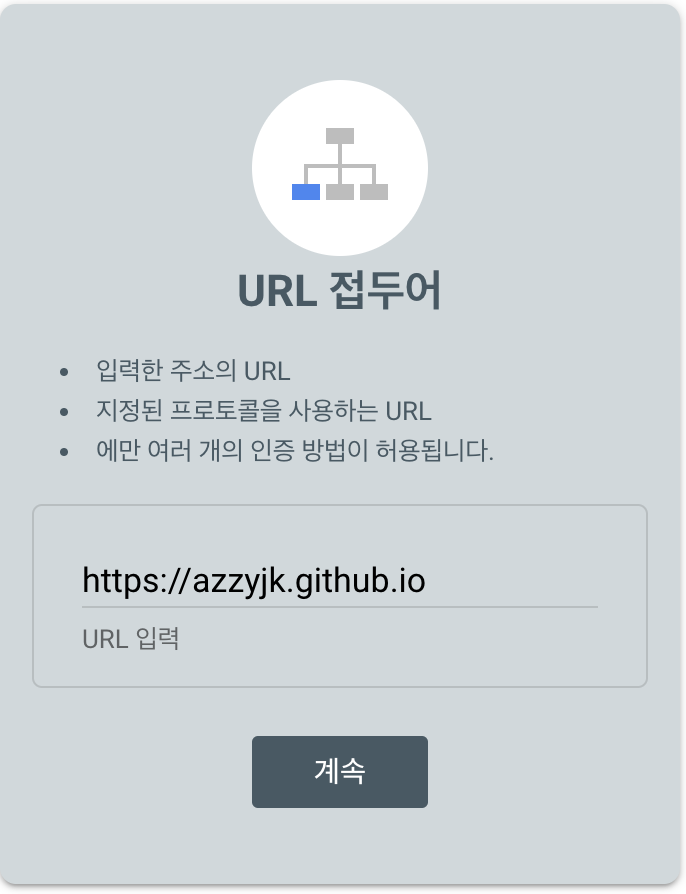
이후 계속을 눌러주면 소유권 확인이라는 창이 나오게 된다.
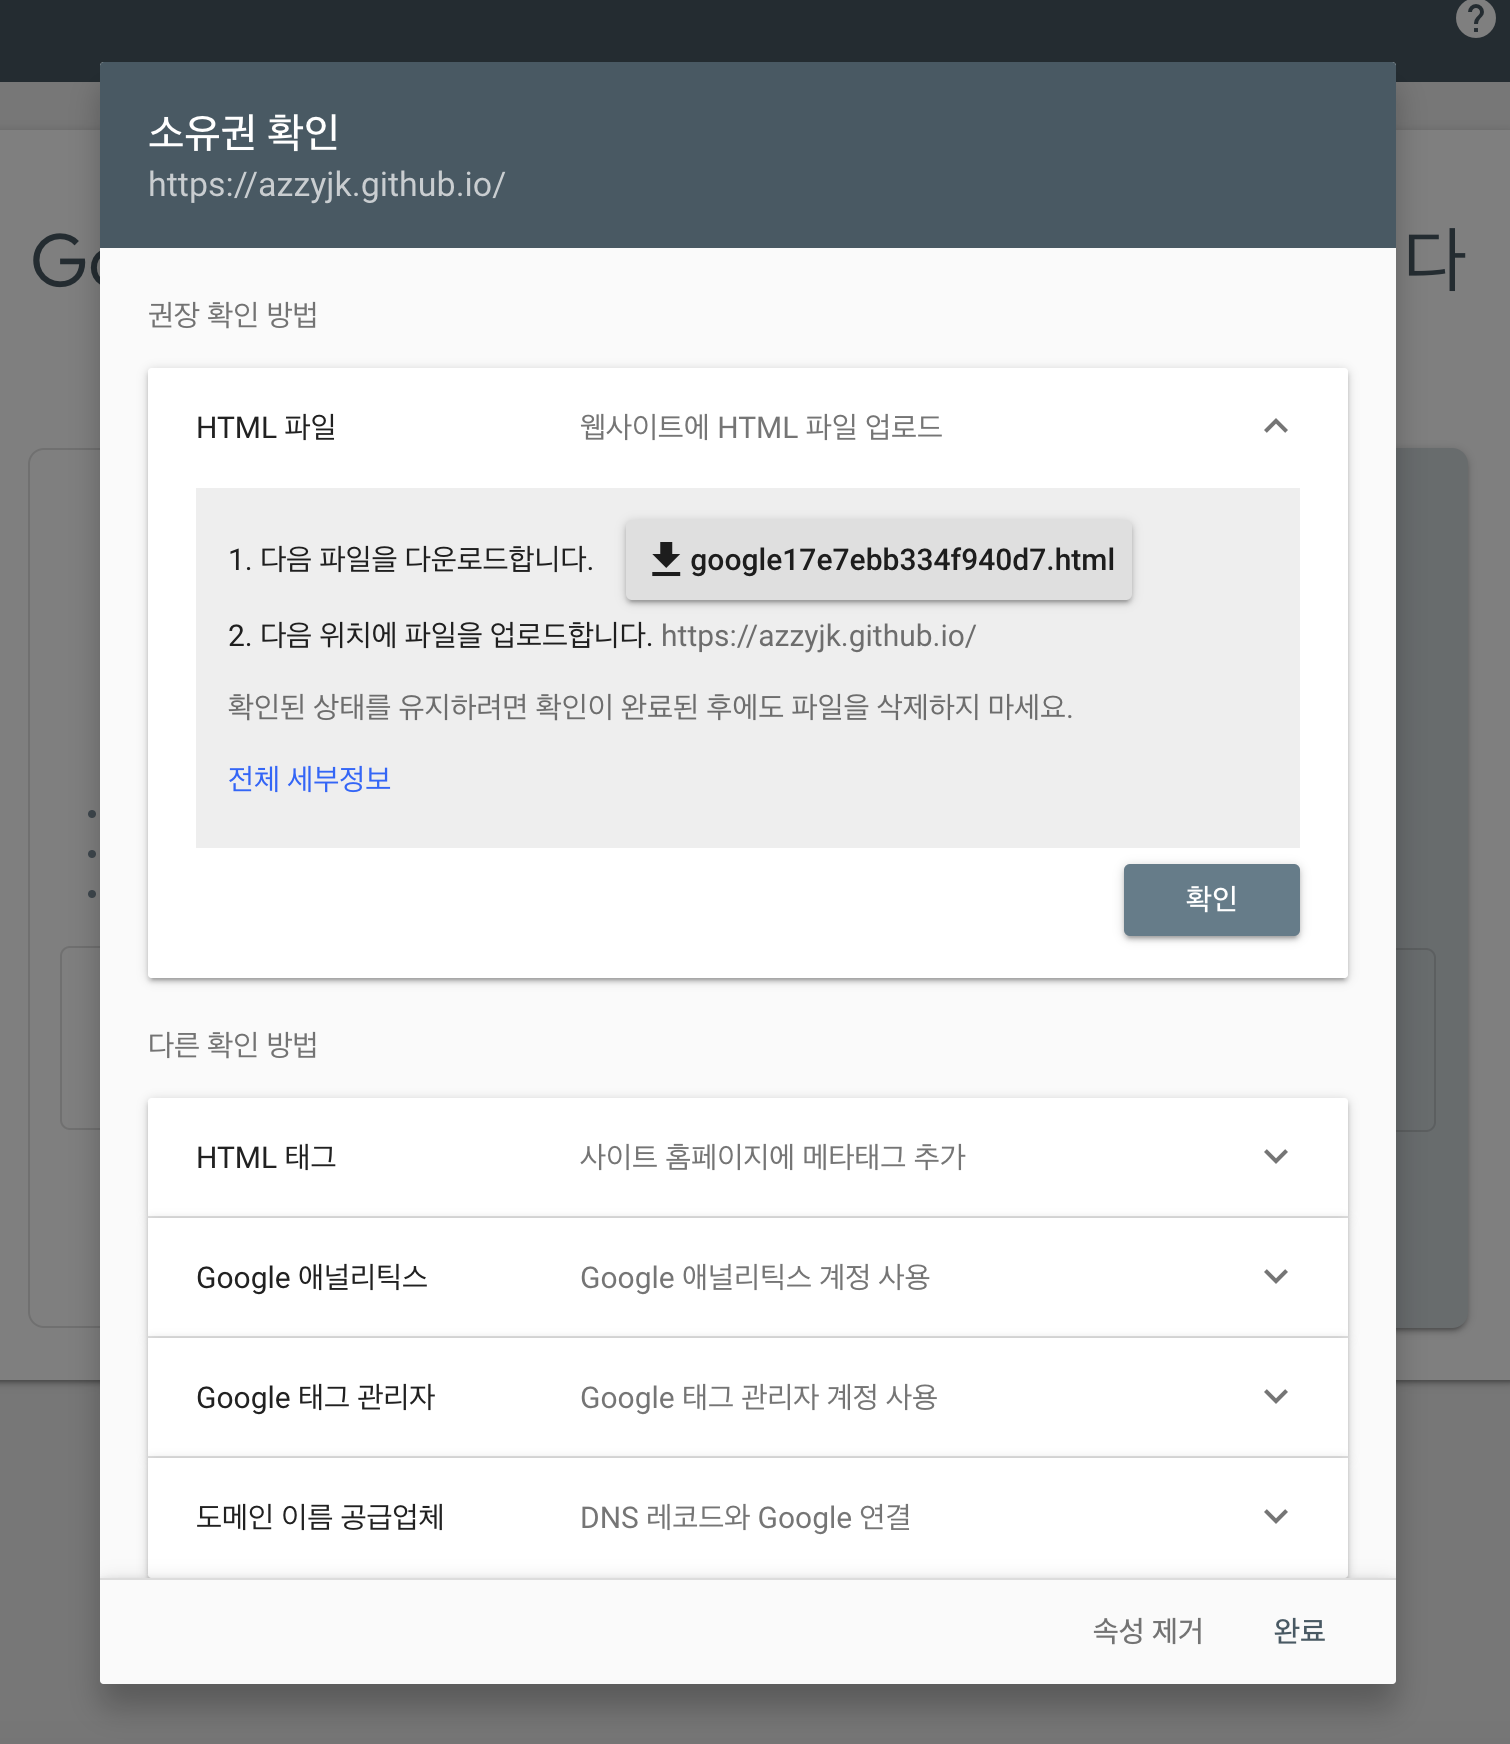
저기서 .html파일을 다운로드 해준뒤 블로그 폴더의 루트 경로에 위치 해놓는다.
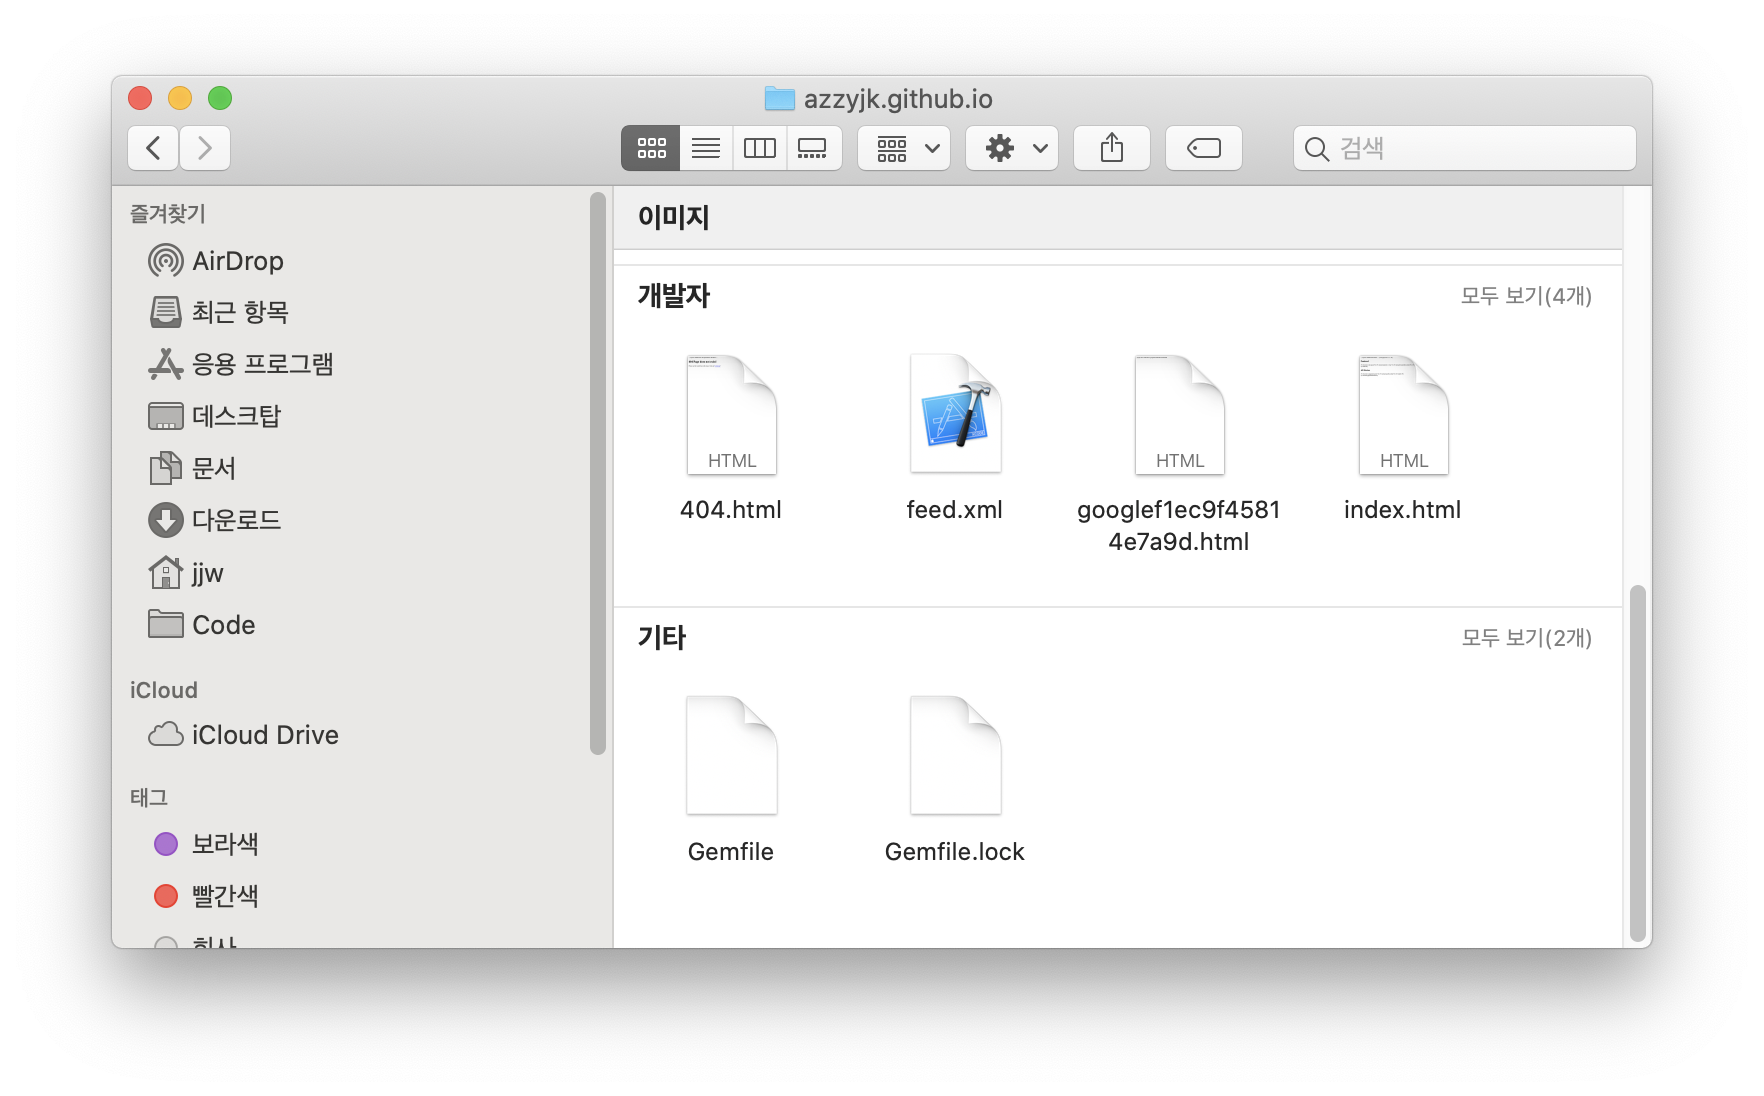
이후 commit을 통해 해당 .html 파일을 Github으로 올려준다.
그 후에 소유권 확인창에 있는 확인 버튼을 누르면 인증을 하면서 다음과 같은 창이 보이게 된다.

Sitemap 등록
이제 sitemap을 구글에 제출해보자.
좌측에 Sitemaps 탭으로 이동해준다.
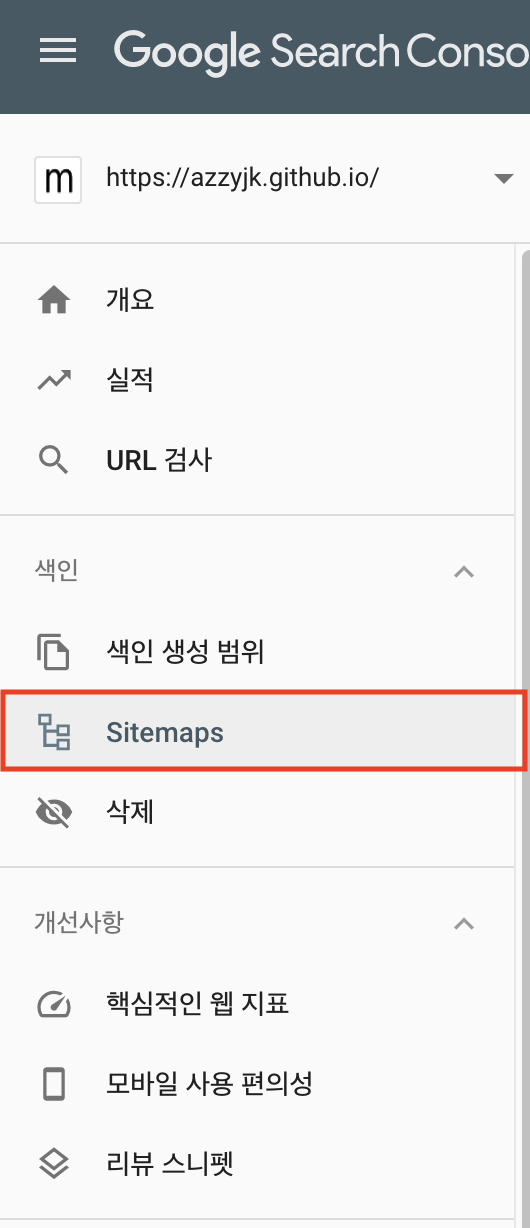
Sitemaps 탭으로 이동하면 아래와 같이 주소를 입력하는 곳이 나오는데 거기에 아까 만든 사이트맵 주소를 적어주면 된다.

ex) sitemap.xml
만약 sitemap.xml이 루트경로에 없거나 이름이 sitemap.xml이 아닐 경우 자신이 설정한 경로대로 적으면 된다.
그럼 아래와 같이 sitemap이 추가된걸 볼 수 있다.
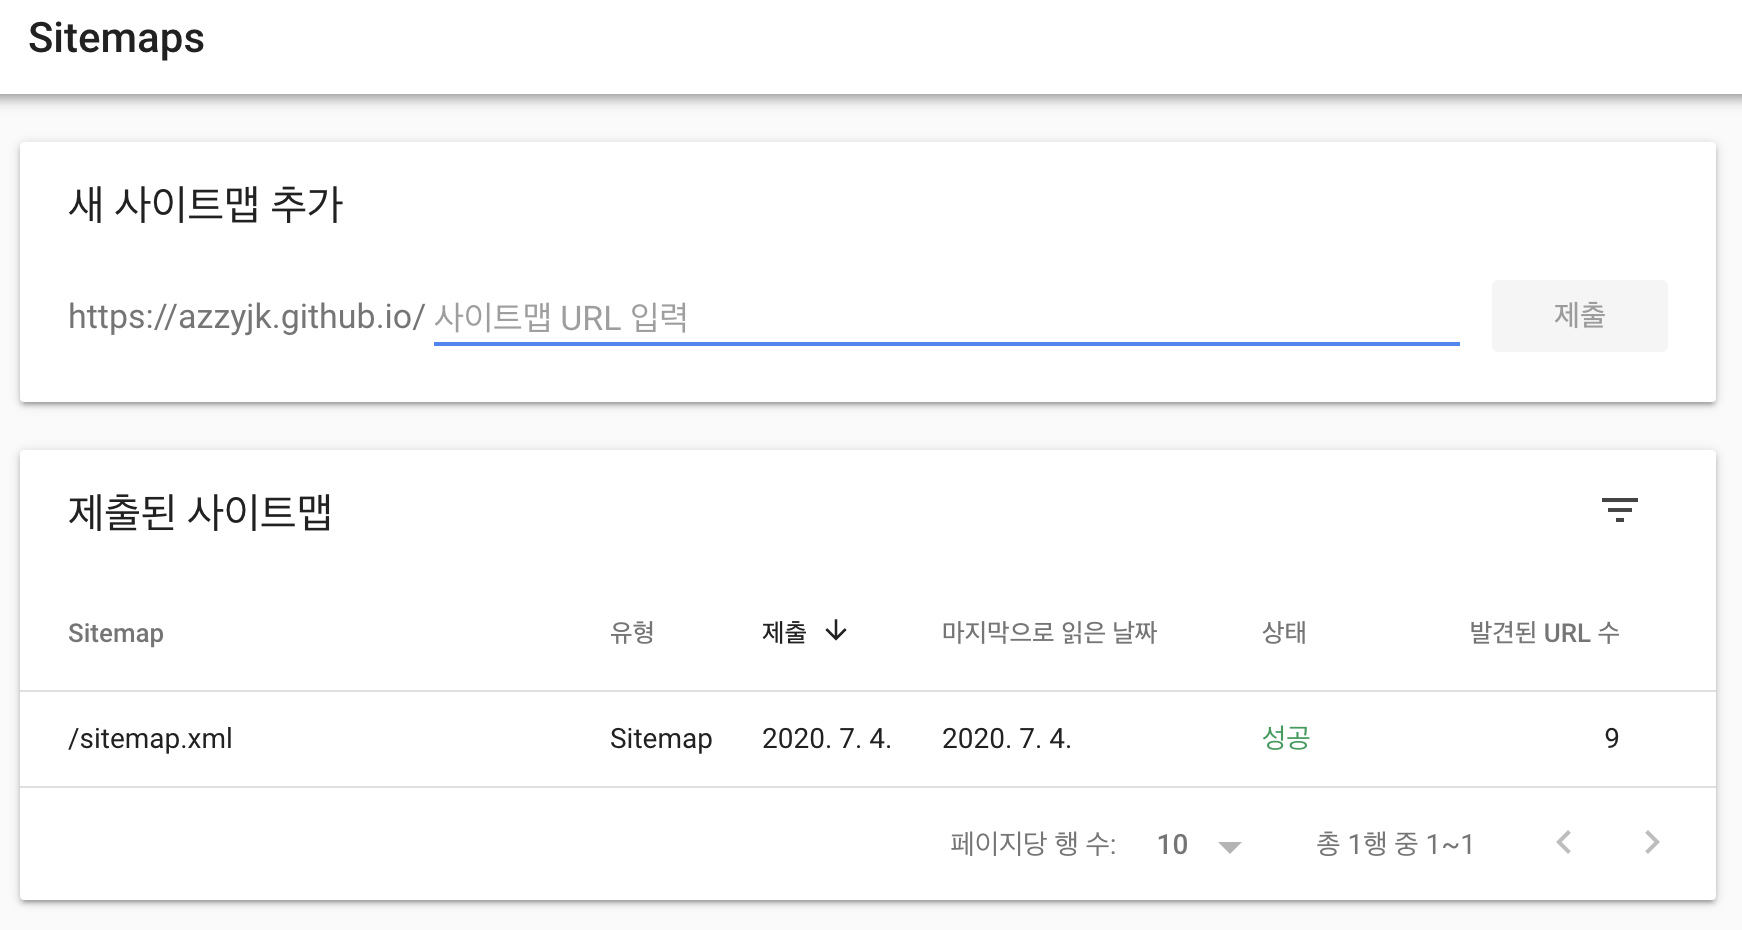
이후 구글에서 내 게시글이나 블로그 이름을 검색하면 나오는걸 볼 수 있다.

Github Blog 1 - 블로그 생성을 위한 repository 생성
Github Blog 2 - Jekyll themes를 이용해 블로그 페이지 꾸미기
GitHub Blog 3 - jekyll bundler를 이용하여 블로그 수정하기
GitHub Blog 4 - 원하는 Syntax Highlighter 적용하기